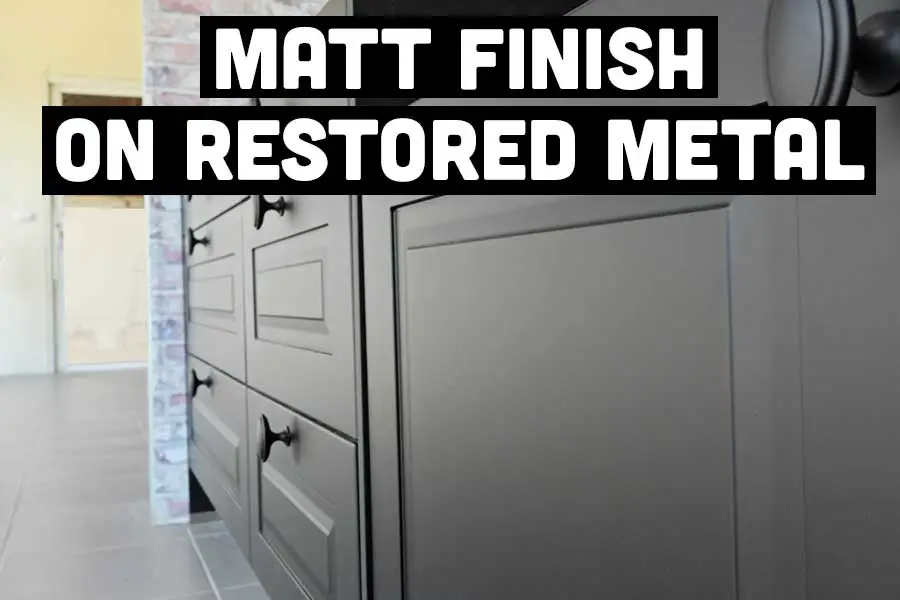
How to Restore Metal Kitchen Cabinets
Wondering how to restore metal kitchen cabinets for a fresh start? These types of accessories normally add aesthetic value to any kitchen. Apart from this, they have aspects of durability as well.
The best thing about such kinds of cabinets is that they can be dismantled with great ease and mounted at the same time. They also have a way for them to be restored without interfering with the designs.
Metal cabinets are a preference for those who love to change and update their cabinets regularly.
Therefore, restoring these cabinets will give them a new lease of life and a fresh new look to your kitchen. Moreover, it is a very simple process that can bring about the desired effects if handled in the right way.
The downside of these cabinets is that if left unattended to can be very prone to rust. Hence, they should be kept clean and tidy, devoid of any negligence at all costs.
Restoration of metal cabinets is the only way to make them last longer and durable. However, it can be a very tedious process, which requires meticulous planning and execution.
What Tools Will I Need to Strip Paint from Metal Kitchen Cabinets?
- A paint stripping tool (or)
- Some good quality brushes
- Cleaning thinners
- A good quality metal paint prime
- A good quality finishing paint
- Metal paint spay laquer
Other Useful Items you May Want to Purchase
- A heat gun for removing exiting paint
- A paint spray gun
In the long run, it will save you considerable amounts of money and time, which could have become unattainable if left unattended for longer periods.
Take your time and do a very good job. Do not rush the process so as not to end up with shoddy work, which might end up being expensive as you might be forced to redo the work once again.
How to Restore Metal Kitchen Cabinets
Step 1: How to Strip Paint Off Metal Kitchen Cabinets
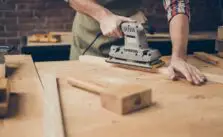
The initial stage would be stripping off any paint from the metal cabinets. If you want to embark on this process, there are several ways to about this whole process. For you not to have a very hard time, then elements for stripping paint will work just fine for you.
However, it can sometimes go against what you want to achieve as you will not be able to amicably work out a method to remove the paint.
Paint removers have an annoying tendency of evaporating
The main reason for this is that these paint removers have an annoying tendency of evaporating just before the job is done.
One way of going about such problems is to put the cabinet inside a plastic bag immediately after you apply the stripper.
Afterward, when removing the said cabinet from the plastic paper, then it will be easy to remove the paint. You can use a wire brush to remove the paint.
However, if you want the best outcome, then a steel wire is most ideal for completely removing the layer of paint.
It is prudent for you to put everything to be used in this task on standby. This is to make sure that you do not miss a thing and start running up and down once the job commences.
Ensure that you have the following essentials in place. Sealant, both coarse and fine sandpaper, coating paint, one brush accompanied by a sizeable roller, masking tape, and last but not least, a TSP cleaner if any.
Stage 2: How to Prime your Metal Kitchen Cabinets
This stage involves coating your prepared cabinet in a good quality primer, which might work wonders when it comes to paint removal on metal kitchen cabinets.
Since metal is very vulnerable to rust and subsequent corrosion, and for you to prevent this from happening, then as a sealant, primer works by sealing all the loopholes on the metal cabinets, which might result in rusting.
It will hinder moisture from accumulating into deadly elements of destruction on the metal cabinets. Moreover, suppose you are looking to change the color of your cabinets, primer can work wonders by promoting the preservation of colors.
In case you are using primer on metal cabinets, one of the easiest ways to go about it is by using a primer in a sprayer.
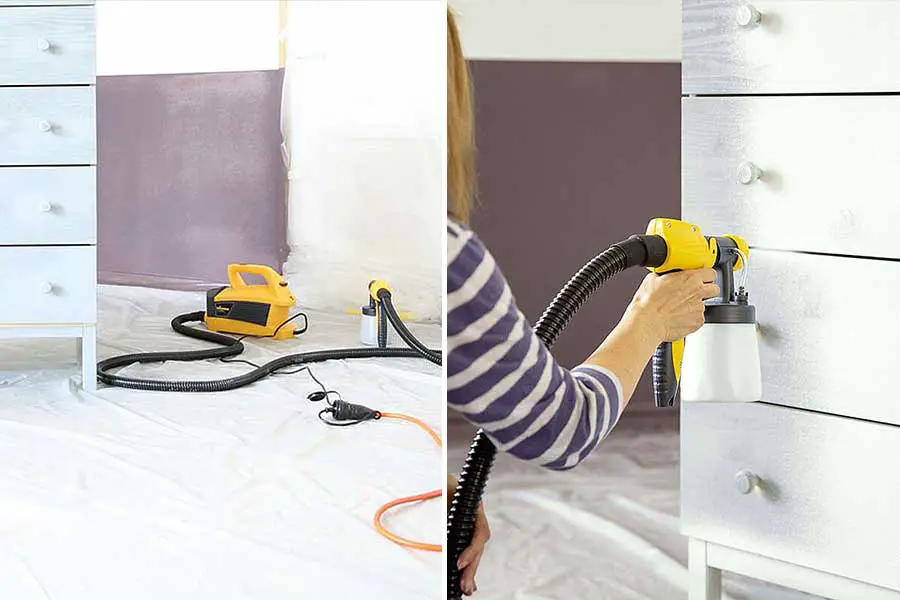
Furthermore, it is cheap, easy to apply, and ideal for those who do not want to go through the cumbersome processes of using brushes for paint removal.
Therefore, when applying primer, ensure that you begin with a thin layer several instead of applying a very thick layer just once. This ensures maximum optimization and outcome in preventing the paint from dripping into unwanted areas on the cabinet.
Use the sprayer on the cabinet by applying a thin layer before letting it settle down for a considerable amount of time before you do anything to your cabinet.
If you have extra time on your hands, then you could let it dry for one day. However, about an hour is just but enough for the sealant to dry well.
Now that the first coat has dried up well, it is now time to apply the second coat on the metal cabinet.
After you have ascertained that the second coat has also dried up, apply another coat. This can be done as many times as possible but just a few is enough for the job.
Immediately after you have applied the last coat, leave it to dry a while longer than before. Before proceeding to the next stage.
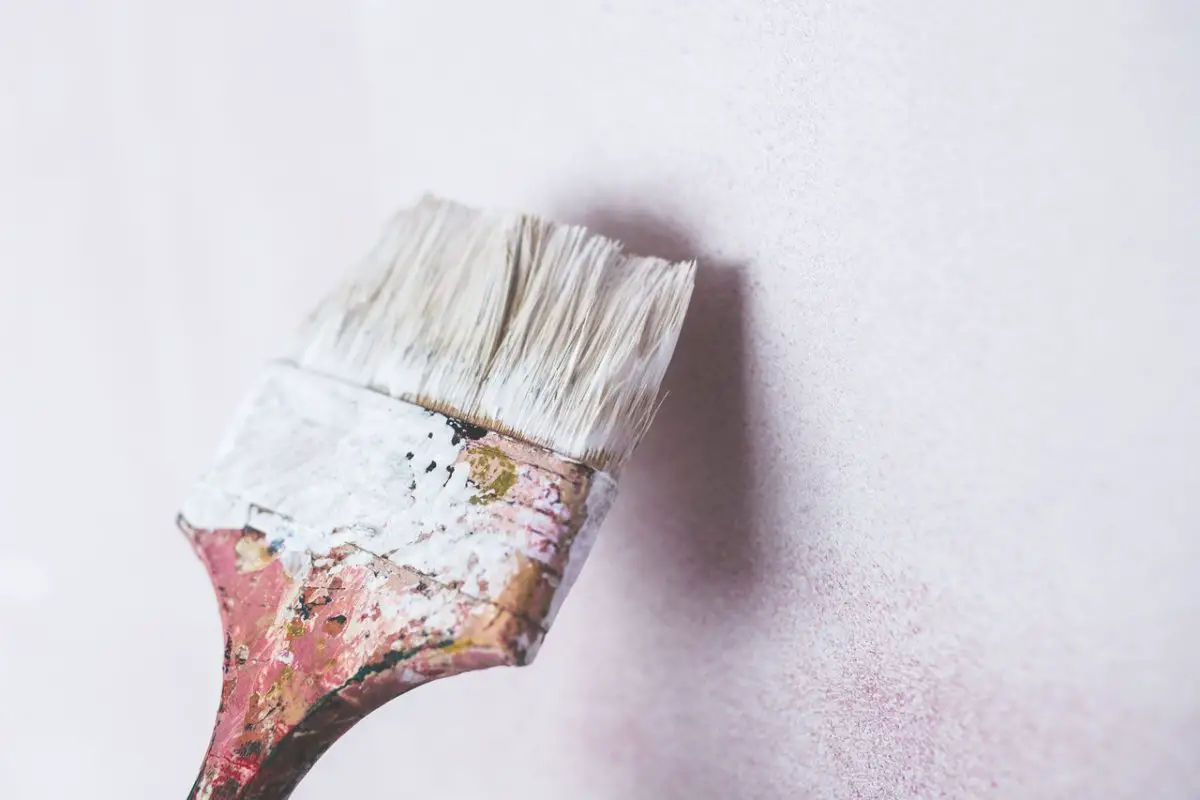
Step 3: How to Paint your Metal Kitchen Cabinets
Stage number three is the actual painting itself. And the best way to go about this crucial step is to use spray paint. Therefore, if you want to do a good job, then it is advisable to spray the paint at intervals of thin layers.
Care should be taken to ensure that it does not drip down. After that, leave it out to dry for about one hour or so, depending on how the job has been done.
Do this consecutively for the next coatings sessions as well.
Those paints, which do not have very deep colors will need more coating, whereas, those with very deep colors will only need fewer coating.
After you are done with the job, it is now time to leave your cabinets out to dry completely. It could be overnight or just a day.
After everything has dried out completely and you have ensured that the paint job has been remarkably done, you can take the cabinets back to their original positions.
If you are unsure of the type of paint to use on your cabinets, then it would very prudent that you ask the store attendants.
They will advise you accordingly on what to purchase. Remember that when painting your kitchen cabinets, instead of a painting brush, you can go ahead and use rollers.
They leave a very smooth and even finishing on the cabinets.
Before you even start painting, there are a few essential steps that you must not miss. The first one is cleaning the cabinets until they are sparkling clean.
This will remove any impurities that might hinder the paint to stick well on the surface of the cabinets.
Ensure that all the impurities and dirt have been removed. For the stubborn ones, use removers like (tsp) trisodium phosphate, it works wonders.
A clean surface will make your work very easy and will be devoid of any struggles and difficulties that might hinder you from working properly on your project.
After the cleaning, leave the cabinets to dry for some time before you again wipe off any of the paint that might have loosened out. You can either use a dry piece of cloth or a soft-bristled brush for this segment.
Do not attempt to sand the areas, which have loose paint, even if you suspect it to be having lead.
Gentle cleaning of paint that has loosened out will prevent lead dust from developing, which could be dangerous on your health.
However, before even cleaning and painting your metal cabinets, you should inspect them thoroughly to ascertain how the work will be done and the extent of damages like rust and corrosion if any.
Apart from knowing how the work is going to be undertaken, it will also give you a very clear picture of the types of accessories to have for the job at hand.
After the inspection has been done, and you have taken note of the things to have for the task ahead, you can then go ahead to remove the doors and all the accompanying hardware.
However, since many of the metal cabinets have different designs, some have permanent handles that cannot come out. For such kind of handles, the best thing to do is to paint them with the same paint color that was used on the cabinet doors.
When removing the doors and any removable hardware, ensure that you have protective clothing on you. It will save you from any hazardous materials that might fall off from the cabinets or any other place nearby.
The process of restoring your kitchen cabinets is a very delicate one that requires meticulous planning and must be done with utmost precision if you want a perfect job.
Conclusion:
Preparation is the key here and as experts usually say. Spent 80% of your time on preparation and 20% of your time on the task.
That way you will ensure that this is a job that will stand the test of time and have the appearance of a professional finish. After all, this isn’t a task you want to be repeating any time soon. So do it one and do it well.
Sources & Links: Matt Spray Gun Hire | How to Prepare Surfaces for Metal Paint | Best Paint Brushes for Metal Paint