
Glass doors give additional beauty to your home, and they’re particularly helpful on sunny days. But once in a while, a touch of privacy is crucial. Perhaps you’re contemplating how to cover glass doors for privacy. Here are the 4 great methods you’ll come across: putting window film, frosting your glass, installing curtains, and applying shutters.
How to Cover Glass Doors for Privacy
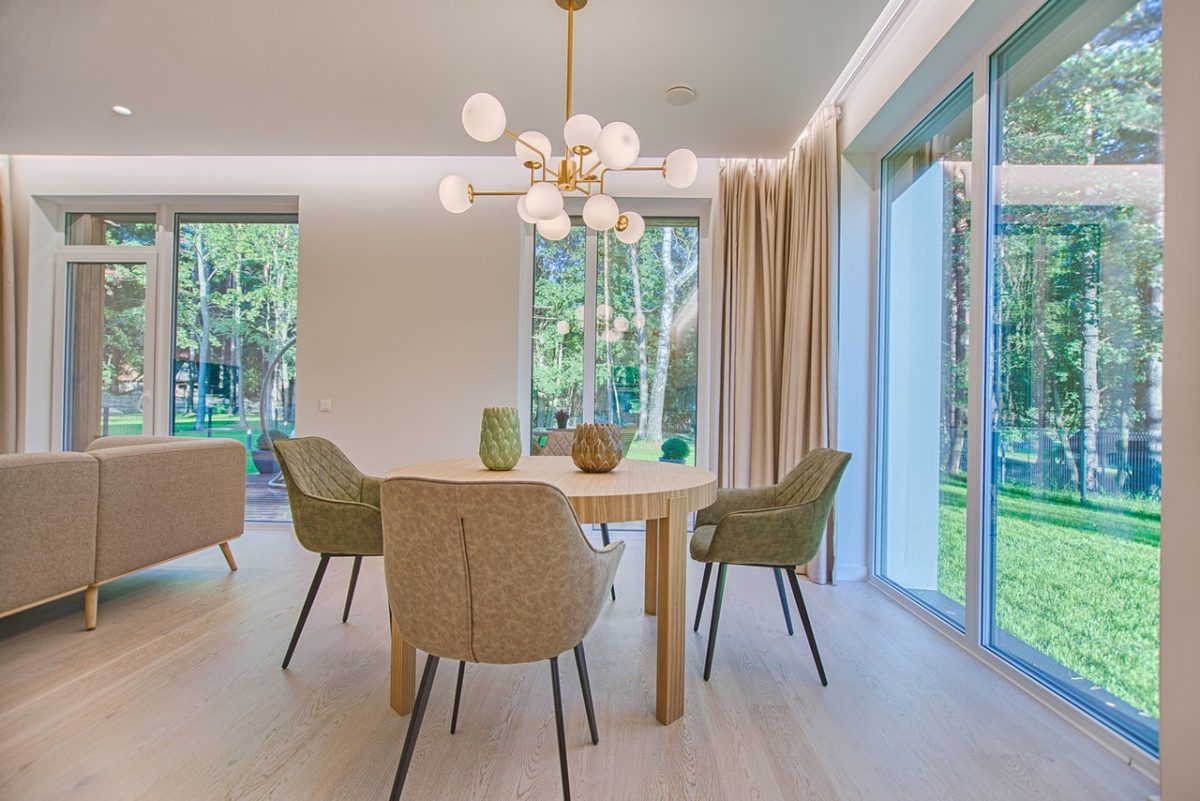
How to Cover Glass Doors for Privacy
Most of the basic techniques are affordable and give you a lot of flexibility.
Method 1: Frosting the Glass
- Clean the glass door with vinegar and water. Then, pour 1 part vinegar and 4 parts water into a spray bottle. Thereafter, spray your glass windows with that solution. Wipe your glass door in circular motions by applying a clean cloth. Repeat the wiping with vertical strokes trailed by horizontal strokes.
- Cover your glass doors utilizing blue painter’s tape. Begin by applying vertical and horizontal pieces alongside the exterior edge of the glass so that you can cover the door’s frame. Keep laying the tape onto the door until every wooden part is covered enough.
- If you don’t have sufficient experience with spray paint, use tape to cover the biggest part of the door as possible;
- You can likewise cover the door by applying plastic sheeting and append it using painter’s tape.
- Use spray paint to apply on the frosted glass, but shake the can well before utilizing. Begin from the upper part of every glass pane to make short horizontal sprays. Exchange left to right with the right to left spraying. Consistently move the spray can downwards while you spray.
- Hold a cardboard piece next to the day and cover any open area that’s not covered by tape.
- For the window to dry, leave it to sit for 10 minutes. This will permit the frosting to produce results. A while later, check the obscurity of the frosting layer. If it doesn’t meet your requirements, apply another coat. More coats make the door glass to become more opaque, and the bigger the privacy.
- Don’t, however, apply another layer immediately since frosting takes some time to produce results.
Method 2: Applying Window Film
- Start by dry-fitting the window film to the door glass and cut it to measure. Wet the glass that you intend to cover with between 4 to 5 water sprays. Mount the film horizontally or vertically onto the glass — whichever heading makes the most productive utilization of the film. The water holds the film set up. Now trim it to around 1 inch (2.5 cm) bigger than the size of glass utilizing a utility knife.
- Measure every door before buying your window film. Ordinarily, films are 91 or 122 cm (36 or 48 inches) wide. You should pick the most appropriate size.
- Now, stick the film to a close window using water. Apply some more 4 to 5 water sprays to the nearest window. While you stick the film onto the window, delicately pat it down using hands. Ensure that the release liner faces you.
- Rub both sides of the window film at once to get the adhesive side. But ensure you don’t crease the film. There’s a slippery side when rubbed upon it while the other one doesn’t have an easy slip. The release liner is the slippery side.
- With baby shampoo and water, fill a spraying bottle. Put water into a 0.95 L (1⁄4 gallon) spray bottle until it gets ¾ full. Put 4.9 ml (1 teaspoon) of baby shampoo. While plain water makes the film stick rapidly, water with too much soap completely prevents it from sticking.
- Screw the top back on and tenderly flip the bottle upside down and repeat this step to mix the soap.
- Use a window squeegee and scraper to clean glass. Wet the whole glass surface using the cleaning solution and apply the sponge to wipe it down. A while later, firmly press the squeegee against the glass and then drag it horizontally over the surface starting at the top and do so toward the base. Toward the finish of every squeegee pass, use a microfiber towel or lint-free towel to wipe the blade.
- With a clean cloth, wipe the window frame after you’re finished squeegeeing gently.
- Put a tape piece on every side of the film’s upper left corner. You wet the tape piece nearest to the window. Press it until it firmly holds on the window. Ensure that the next tape closest piece nearest to you is free and grasp it using your right hand.
- Gently, pull the liner from the film as you spray it using water. Hold a spraying bottle that’s filled with water using your left hand. Start pulling the next bit of tape downwards to get rid of the film liner. Do this gradually to guarantee that you don’t destroy the bits of the film when separating them. Remove the liner as you spray the film.
- Keep on pulling the release liner and as you go, spray the film;
- Ensure the tape adhered to the window is firm before you start pulling the next bit of tape;

- Thoroughly spray the film using soap solution after removing the liner. After discharging the liner, spray the whole film surface once more with your soap solution. A short time later, spray the middle part of the clean glass that you’re covering. Avoid spraying the edges as this will remove the remaining dirt from the crevices.
- Carefully, apply the film on the glass above the soap solution. Then allow the water to hold it in position. Begin by appending it at the upper corners of your glass door and operate downwards.
- Outwards squeegee the water to the glass edges. Begin from the middle and operate outward. Press the squeegee over the glass door as opposed to pulling. This will get more water out and guarantee a superior bond.
- Don’t go right to the edge but leave around 2.5 cm (1 inch) from the edge.
- Use a 5-way device and a breakaway knife to trim the film. Cautiously slide the 5-way device up into the side of the glass, squeezing the film down up towards the casing. On the tool’s glass side, lay the knife upon the 5-way apparatus. Downwards, slide the blade until it reaches the 5-way tool midpoint. Slide both devices down the window’s frame and trim the film at the frame’s side.
- Press down against the casing while you cut the film;
- Repeat the procedure for both sides of your window.
Method 3: Installing Curtains
- Take the measurements of your doors and note the area. Horizontally, measure at three various spots across the glass doors. Then create a rough sketch and mark the biggest horizontal measurement.
- Get a photograph of the glass doors to utilize alongside your sketch during shopping;
- Buy curtains & magnetic curtain rods — Normally, 210 cm (84 inches) curtains sit at the floor or above it. In matters of width, choose curtains that are more than double the glass width. Adjustable magnetic curtain rods range from 43 to 76 cm (17 to 30 inches) wide. Utilize rods that stretch out 1.3 to 2.5 cm (1⁄2 to 1 inch) past both sides of the glass.
- Account for the type of curtain when deciding on rod placement and curtain height. The ordinary types are rings, tabs, hooks, pockets, and grommets.
- Measure and mark locations of the bracket on the doors. Utilize a pencil and a measuring tape to mark the spots of your curtain brackets. Put the rods approximately 1.3 cm (1⁄2 inch) outside the door’s glass area. Hold the brackets and rod in place and choose if the position lines up with your vision.
- A friend can assist in placing the carpenter’s level above your rod to ensure it is even. If you are alone, steadily hold the rod using one hand and put the carpenter’s level above with the other hand.
- Append magnetic curtain rods on your doors, and then fix the curtains. Find the self-stic magnetic tabs that accompany every bracket. Get rid of the paper covering the adhesive segments of the tabs and solidly press them onto the bracket spots that you measured. Then, slide the rod via your curtain and append it on the rod.
- Change the rod’s width as needed if it’s an adjustable one;

Method 4: Applying Shutters
If you need something perpetual, shutters are an ideal alternative. When introduced appropriately, they can increase the value of the home. They offer an elegant, polished, and timeless look. Besides, they will give you privacy when it comes to glass doors. You may also think about the following aspects when it comes to choosing shutters:
- The type of material to use – Depending on the budget, shutters may range from hardwood, polysatin, or PVC shutters to a hybrid/combination of materials. The options of the materials that you choose rely upon who you work with.
- Midrail – While it’s a good choice, it’s not a must for your door. A midrail is the flat board that lay on the middle part of the shutter panel. This board permits you to open the upper and lower shutter parcels independently. It likewise strengthens the shutter and shields it from twisting.
- Tilt bar – This is the vertical part that works the opening and shutting of the shades. You can decide to have them midway on the board, covered up (at an additional expense) or offset;
- Opening & closing of the shutters – You can install track shutters with different opening options. This permits them to slide open, and they can get shut through a bi-fold or by utilizing a bi-pass track system. By-pass doors slide against each other to the behind or front while bi-fold shutters overlap back the same as a closet door.
You can now utilize the above tips on how to cover glass doors for privacy to ensure you enjoy the privacy of your home or office.
Learn how to hide unused doors beautifully here with our guide!